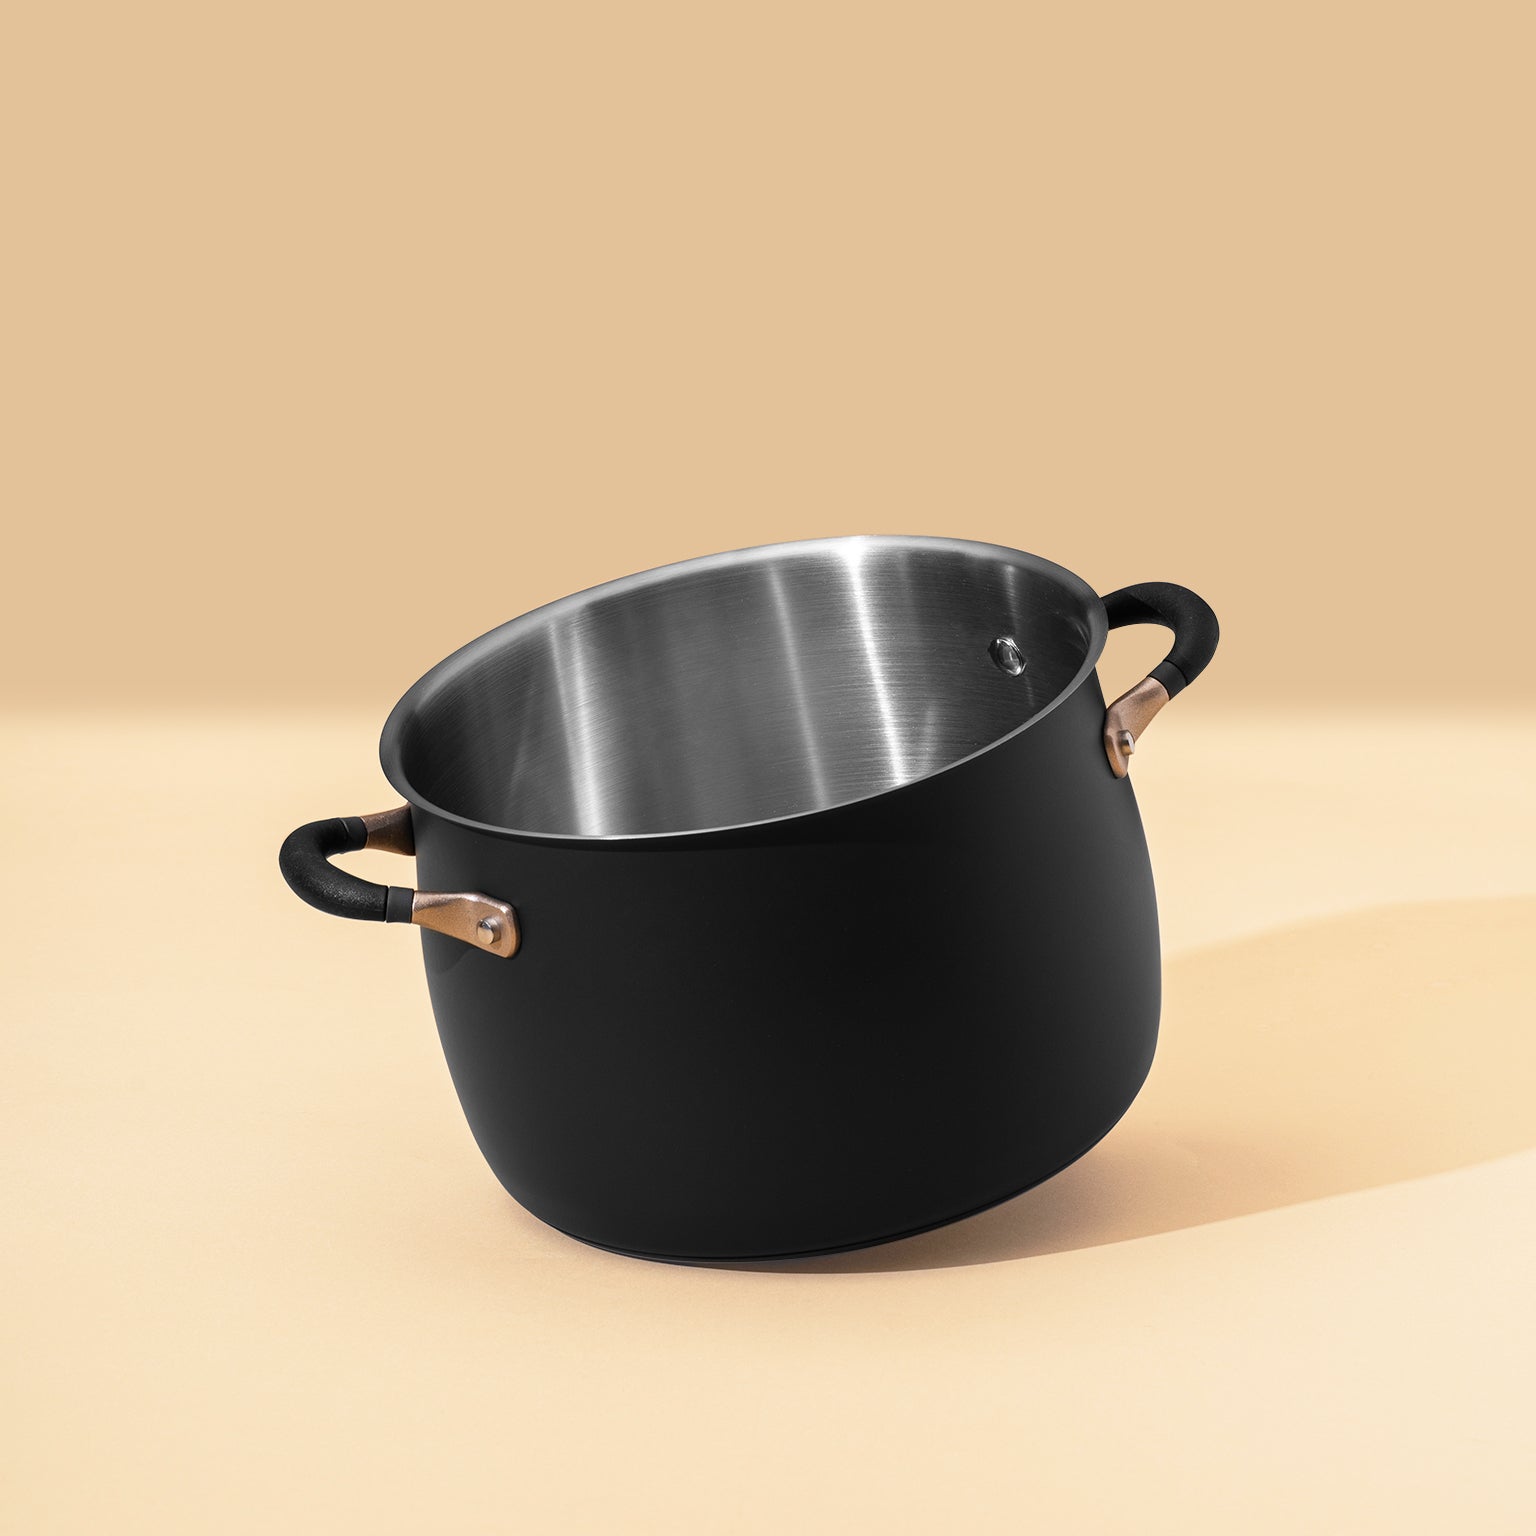
There's something truly magical about homemade jams. The vibrant colors, the tantalizing aroma, and the burst of fresh flavors make them a delightful addition to any breakfast table or afternoon tea spread. This summer, we invite you to embark on a culinary adventure and create your very own batch of Strawberry Summer Jam using our Accent Series Stainless Steel Stockpot on your stovetop. Get ready to savor the taste of sunshine in every spoonful!

- 4 cups fresh strawberries, hulled and chopped
- 3 cups granulated sugar
- Juice of 1 lemon
- 1 tablespoon lemon zest
- 1 teaspoon vanilla extract (optional)
1. Prepare the Strawberries:
Start by washing and hulling the fresh strawberries. Remove any stems and cut the berries into small, uniform pieces. Set aside.
2. Combine the Ingredients:
Place the chopped strawberries in the stockpot along with the granulated sugar. Mix well until the sugar coats the strawberries evenly. Allow the mixture to sit for about 30 minutes, allowing the sugar to macerate the fruit.
3. Time to Cook:
After the strawberries have macerated, place the stockpot on the stovetop over medium-high heat. Stir the mixture frequently to prevent it from sticking to the bottom of the pot.
4. Skimming:
As the mixture heats up, you may notice foam forming on the surface. Use a slotted spoon or a skimmer to remove the foam and discard it. This process will result in a cleaner, clearer jam.
5. Add Flavorful Accents:
Squeeze the juice of one lemon into the stockpot and add the lemon zest. These additions will enhance the brightness of the strawberry flavor. For an extra touch of sweetness, you can also stir in a teaspoon of vanilla extract if desired.
6. Simmer to Perfection:
Continue to cook the strawberry mixture over medium heat, stirring occasionally, until it reaches a rolling boil. Reduce the heat to low and let it simmer gently for approximately 45 minutes to an hour, or until the jam thickens to your desired consistency.
 📷 Photo by: @imhmmhannah
7. Test for Doneness:
To check if the jam has set, place a small plate in the freezer for a few minutes. Drop a small amount of jam onto the chilled plate and give it a slight push with your finger. If it wrinkles and holds its shape, it's ready. If not, continue cooking for a few more minutes and repeat the test.
8. Fill and Seal the Jars:
Carefully ladle the hot strawberry jam into the sterilized jars, leaving a ¼-inch headspace at the top. Wipe the jar rims with a clean, damp cloth to ensure a proper seal. Secure the lids tightly.
#MEYER #HomeCooking #DeliciousIdeas


